Translate Cerb to a new language
- Introduction
- Enable the Translation Editor plugin
- Create a new language
- Translate text
- Sharing translations
- References
Introduction
Cerb includes a plugin for translating the user interface into new languages. These translations are shared as .xml files in the TMX1 format, which can be shared and imported by other Cerb users.
The TMX format is pretty simple. Each <tu> tag defines a new phrase with the ID given in the tuid attribute. Within each phrase is any number of <tuv> translations that specify a language in the xml:lang attribute.
For example:
<tmx>
	<header creationtool="Cerb" creationtoolversion="8.1.4" srclang="en_US" />
	<body>
	 	<!-- ... -->
		<tu tuid="common.notspam">
			<tuv xml:lang="en_US">
				<seg>not spam</seg>
			</tuv>
			<tuv xml:lang="de_DE">
				<seg>Kein Spam</seg>
			</tuv>
		</tu>
		<!-- ... -->
	</body>
</tmx>
We store each translated language in its own TMX file, so there's only one <tuv> child within each <tu> phrase.
In Cerb, templates in plugins can use these phrases like:
{'common.notspam'|devblocks_translate|capitalize}This way we display each phrase in the preferred language of each worker or contact.
In this guide, we'll cover the steps required to translate Cerb to a new language.
We offer a billing credit of $0.50 USD per phrase for translation work. At the time of writing, there are roughly 1,300 phrases in Cerb. This credit is also available for maintaining existing translations as new versions of Cerb are released.
Enable the Translation Editor plugin
First, make sure the Translation Editor plugin is enabled.
Navigate to: Setup » Configure » Plugins » Installed Plugins
Search for: translation
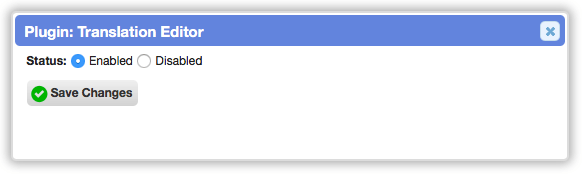
If the plugin is enabled:
You're all set!
If the plugin is disabled:
-
Click the Configure button.
-
Set the Status to Enabled.
-
Click the Save Changes button.
Create a new language
-
Navigate to: Setup » Configure » Translation Editor
-
Click on the Languages button in the top left.
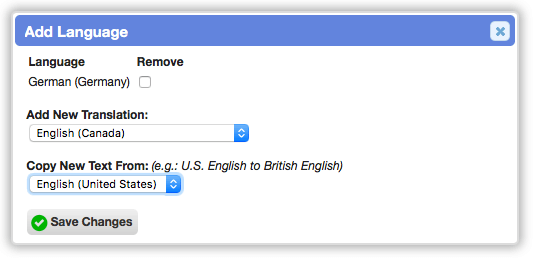
-
In Add New Translation, select the language you want to provide a new translation for.
-
If your new language is closely related to an existing language (e.g. British English » American English, Mexican Spanish » Castilian Spanish) then you can Copy New Text From that language. Otherwise, use the default of leave blank.
-
Click the Save Changes button.
Translate text
Using the built-in translation editor
-
Navigate to: Setup » Configure » Translation Editor
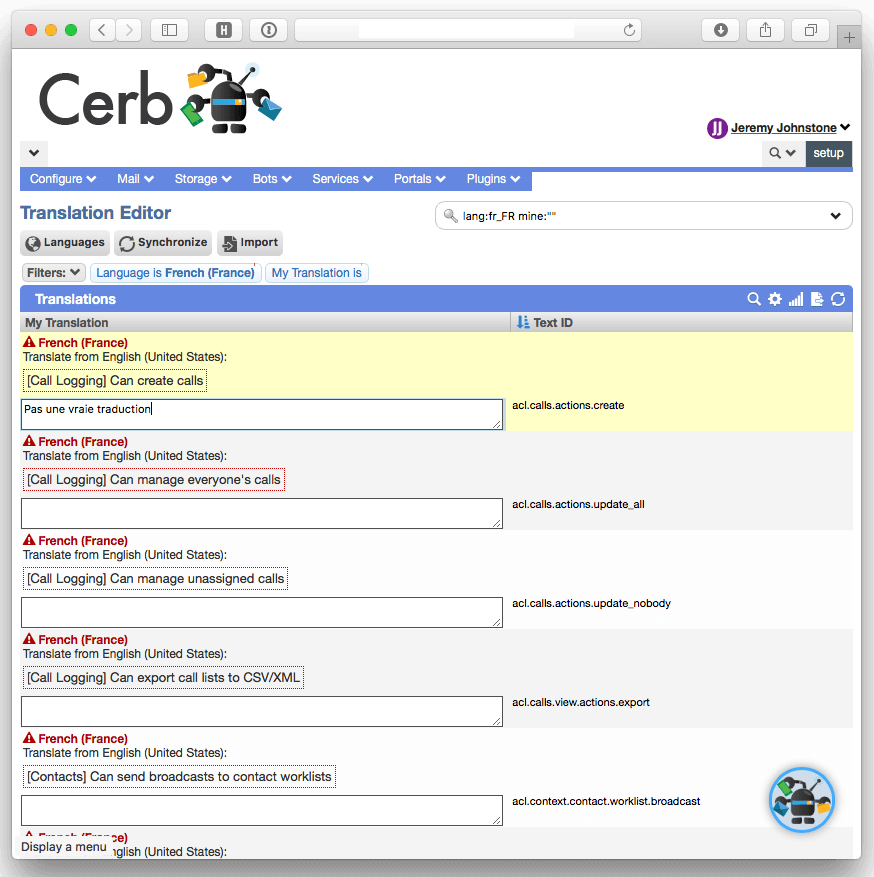
-
Use quick search to filter the worklist to phrases in your new language without a translation. For example:
lang:fr_FR mine:""-
Cerb automatically provides the English version of each phrase. Translate that phrase into your language in the textbox below each entry.
-
After each page of translations is complete, click the Save Changes button. This will refresh the worklist with the next page of entries needing translation. You're done when there aren't any non-translated entries left.
Sharing translations
To share your new translation:
-
Navigate to: Setup » Configure » Translation Editor
-
Use quick search to filter the worklist to phrases in your new language. For example:
lang:fr_FR-
Click the Export button below the worklist.
-
Your browser will download the translation as an
.xmlfile TMX format. You can share this file in email, include it in a pull request on GitHub, etc.
References
-
Wikipedia: Translation Memory eXchange (TMX) - https://en.wikipedia.org/wiki/Translation_Memory_eXchange ↩