Install Cerb on Debian Linux 9.6
Introduction
This guide will walk you through preparing an Debian Linux 9.6 server for installing Cerb, including Nginx, PHP-FPM, and MySQL.
- Provision an Debian server
- Connect to your server
- Install packages
- Install MariaDB 10.2
- Create the database
- Install Cerb
- Configure Nginx
- Run the Cerb installer
Provision an Debian server
If you don't already have a server, you can create an EC2 instance in Amazon Web Services.
This guide uses the following Amazon Machine Image (AMI):
debian-stretch-hvm-x86_64-gp2-2019-01-14-59254 (ami-086435e15fca39b20)
Connect to your server
Connect to your server using SSH:
ssh admin@1.2.3.4Install packages
It's a good idea to update your installed packages first:
sudo apt-get -y update

sudo apt-get -y upgrade
Install Dependencies:
sudo apt-get install -y software-properties-commonInstall PHP 7.0:
sudo apt-get install -y php7.0 php7.0-fpm php7.0-mysql php7.0-mbstring php7.0-gd php7.0-imap php7.0-curl php7.0-yaml php7.0-mailparse php7.0-dev php-pearInstall Git:
sudo apt-get install -y gitInstall the Nginx web server:
sudo apt-get install -y nginxInstall MariaDB 10.2
Debian installs the MariaDB fork of MySQL. Cerb requires at MariaDB 10.2 or later.
We recommend using a dedicated database server that replicates to a standby server.
If you need to install MariaDB on your EC2 instance instead, you can use these instructions:
sudo add-apt-repository 'deb [arch=amd64,i386,ppc64el] http://ftp.utexas.edu/mariadb/repo/10.2/debian stretch main'

sudo apt-get install -y mariadb-server

sudo mysql_secure_installation

sudo service mysql restart
Create the database
Connect to MariaDB:
mysql -h localhost -u root -pIf you're using a remote MySQL server, use its internal IP in place of localhost above.
Enter your root password.
Create a new database and user for Cerb:
CREATE DATABASE cerb CHARACTER SET utf8;

CREATE USER cerb@localhost IDENTIFIED BY 's3cr3t';

GRANT ALL PRIVILEGES ON cerb.* TO cerb@localhost;

QUIT;
Replace s3cr3t above with your own secret password. If you're using a remote database server, replace @localhost with a subnet used by your web servers, like: @'10.0.0.%'
Install Cerb
You should now be ready to install Cerb.
cd /usr/share/nginx/html/

sudo git clone https://github.com/cerb/cerb-release.git cerb

sudo chown -R www-data:www-data cerb

cd cerb
You can test Cerb using PHP's built in webserver:
sudo service nginx stop

sudo php -S 0.0.0.0:80
Type your server IP into a browser.
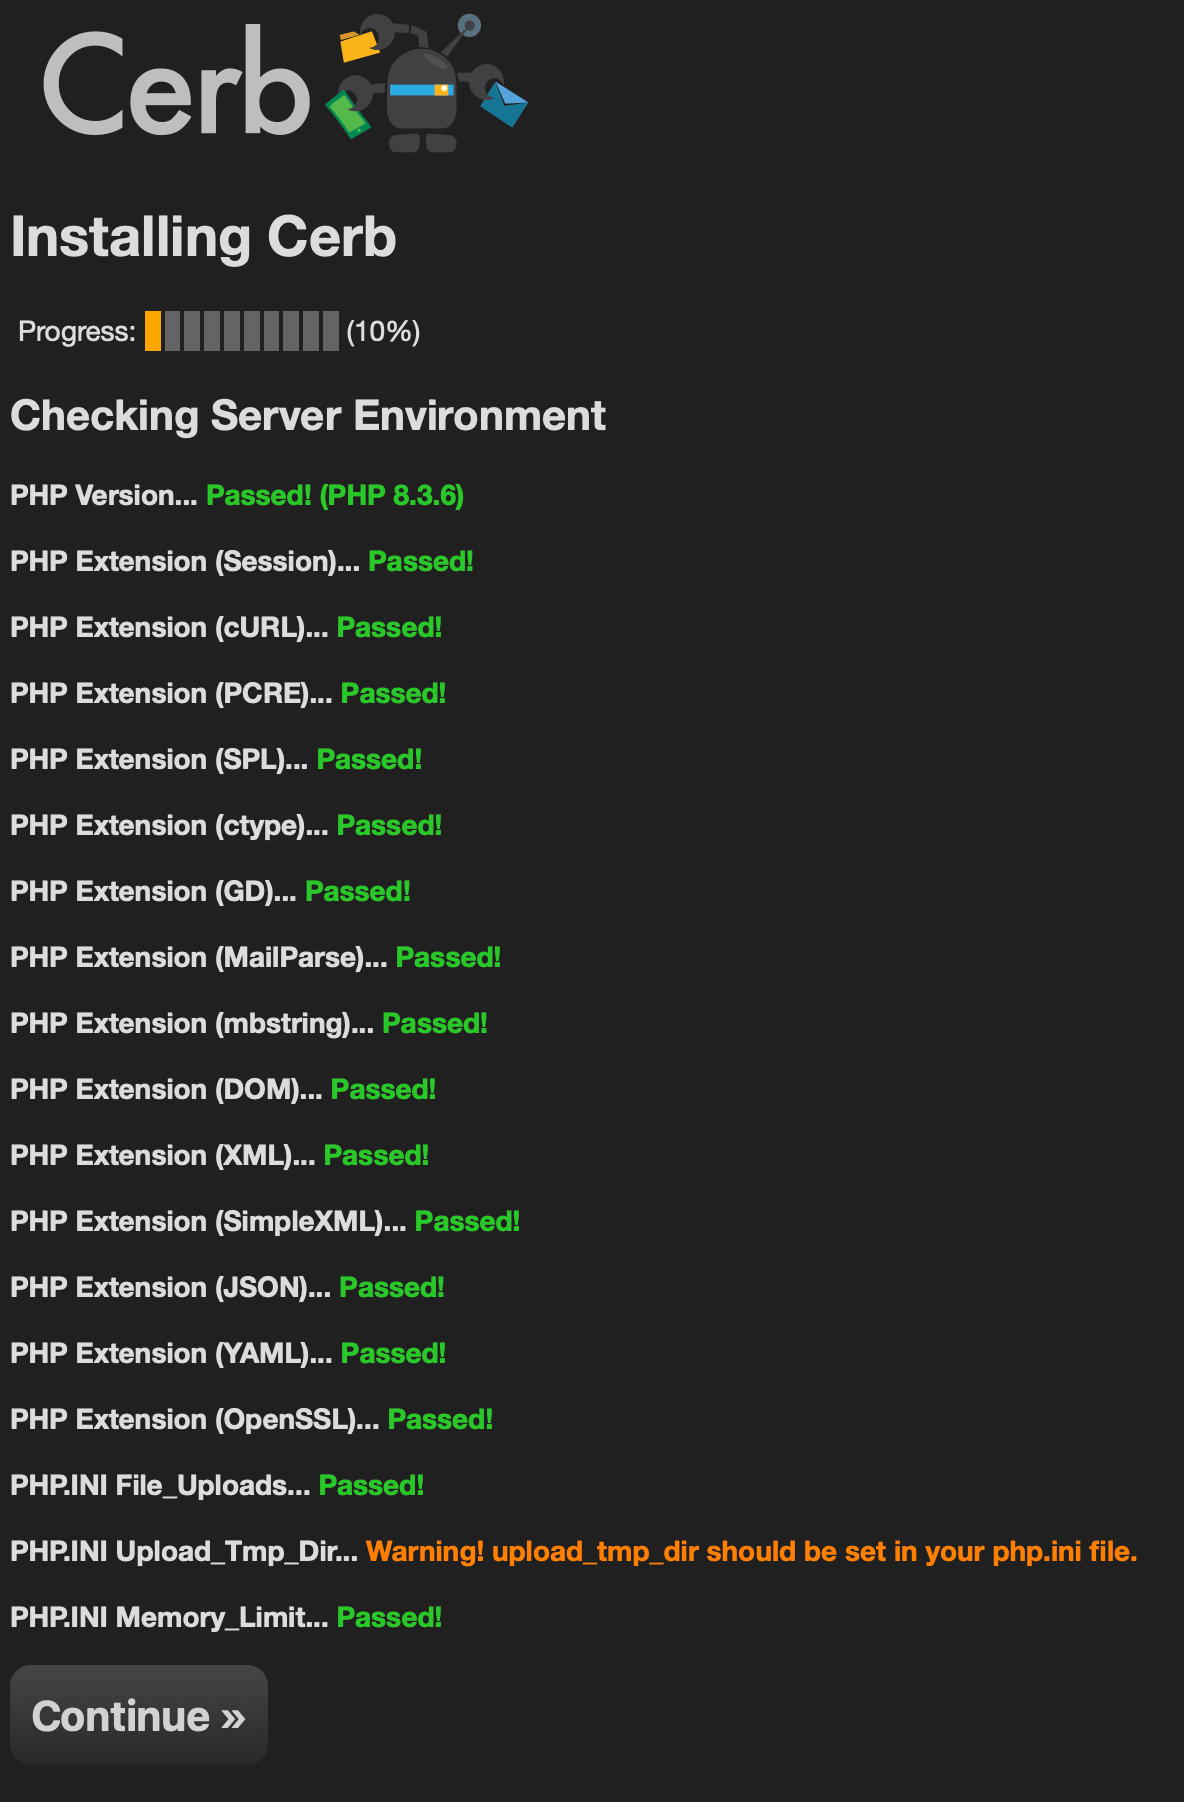
You should see the requirements checker with all tests passed:
If you're just testing Cerb, you can use PHP's built-in web server and skip the Nginx step below.
Type CTRL + C to kill the PHP web server process.
Since you just ran the web server as root, you should make sure any newly created files are owned by the www-data user and group:
sudo chown -R www-data:www-data /usr/share/nginx/html/cerb/Configure Nginx
We're going to install Nginx as the web server. Cerb's code will run in PHP-FPM.
SSL
Add your SSL certificate
If you're using an Elastic Load Balancer you can configure SSL there and use internal IPs without SSL on your web servers. Amazon Certificate Manager can also generate SSL certificates for free.
Otherwise, you'll need a valid SSL certificate for your server. We recommend Let's Encrypt or a RapidSSL certificate from CheapSSLsecurity.
Enable Perfect Forward Secrecy (this may take a few minutes):
sudo openssl dhparam -out /etc/ssl/certs/dhparam.pem 2048Creating a self-signed SSL certificate
For testing, you can also create a self-signed SSL certificate. You should not use these instructions in production:
sudo openssl req -x509 -nodes -days 365 -newkey rsa:2048 \
-keyout /etc/ssl/private/nginx-selfsigned.key \
-out /etc/ssl/certs/nginx-selfsigned.pem
Country Name (2 letter code) [AU]:US
State or Province Name (full name) [Some-State]:California
Locality Name (eg, city) []:
Organization Name (eg, company) [Internet Widgits Pty Ltd]:Example, Inc.
Organizational Unit Name (eg, section) []:Internet
Common Name (e.g. server FQDN or YOUR name) []:cerb.example
Email Address []:support@cerb.exampleAdd a virtual host
Add a new virtual host to Nginx:
sudo vi /etc/nginx/sites-available/cerbType i to switch to insert mode and paste the following:
1
2
3
4
5
6
7
8
9
10
11
12
13
14
15
16
17
18
19
20
21
22
23
24
25
26
27
28
29
30
31
32
33
34
35
36
37
38
39
40
41
42
43
44
45
46
47
48
49
50
51
52
53
54
55
56
57
58
59
60
61
62
63
64
65
66
67
68
69
70
71
72
73
74
75
76
77
78
79
80
81
82
83
84
85
86
87
88
89
90
91
92
93
94
95
96
97
98
99
100
101
102
103
server {
  listen 80;
  server_name cerb.example;
  #access_log off;

  location /status/nginx {
    stub_status on;
    access_log off;
    allow 127.0.0.1;
    deny all;
  }

  location /status/fpm {
    access_log off;
    allow 127.0.0.1;
    #allow 10.0.0.0/16;
    deny all;
    include fastcgi_params;
    fastcgi_pass   unix:/var/run/php/php7.0-fpm.sock;
  }

  location / {
    return 301 https://$host$request_uri;
  }
}

server {
  listen 443 ssl;
  server_name cerb.example;
  #access_log off;

  root /usr/share/nginx/html/cerb;
  index index.php;

  # Increase upload max size from default of 1MB
  client_max_body_size 30m;

  charset utf-8;

  # SSL
  ssl_certificate /etc/ssl/certs/nginx-selfsigned.pem;
  ssl_certificate_key /etc/ssl/private/nginx-selfsigned.key;
  ssl_protocols TLSv1.2;
  ssl_prefer_server_ciphers on;
  ssl_ciphers HIGH:!CAMELLIA:!RC4:!PSK:!aNULL:@STRENGTH;
  ssl_dhparam /etc/ssl/certs/dhparam.pem;

  # DNS
  resolver 8.8.8.8 8.8.4.4 valid=300s;
  resolver_timeout 5s;

  # Always let people see the favicon file
  location = /favicon.ico {
    allow all;
  }

  # Send PHP scripts to FPM
  location ~ ^/(index|ajax)\.php$ {
    proxy_connect_timeout 120;
    proxy_send_timeout 120;
    proxy_read_timeout 120;

    fastcgi_split_path_info ^(.+\.php)(/.+)$;
    fastcgi_pass   unix:/var/run/php/php7.0-fpm.sock;
    fastcgi_index  index.php;
    include    fastcgi_params;
    fastcgi_param  SCRIPT_FILENAME  $document_root$fastcgi_script_name;
  }

  # ============================
  # ENABLE ONLY FOR INSTALLATION
  # ============================
  location /install/ {
    location = /install/ {
      rewrite ^(.*)$ /install/index.php?$1 last;
    }

    location ~ ^/install/(index|servercheck|phpinfo)\.php$ {
      fastcgi_split_path_info ^(.+\.php)(/.+)$;
      fastcgi_pass   unix:/var/run/php/php7.0-fpm.sock;
      fastcgi_index  /install/index.php;
      include    fastcgi_params;
      fastcgi_param  SCRIPT_FILENAME  $document_root$fastcgi_script_name;
    }

    location ~ ^/install/(.*)\.(css|js|svg)$ {
      allow all;
    }

    #location ~ ^/install/ {
    #  deny all;
    #}
  }

  location ~ \.php$ {
    deny all;
  }

  # Send all other paths to the Devblocks front controller index.php
  location / {
    rewrite ^ /index.php last;
  }
}
On lines 3 and 29 change cerb.example to the domain name of your server. If for some reason you don't have one, you can temporarily use your server IP.
The first server block (lines 1-25) redirects all HTTP requests to HTTPS with SSL. It also defines some /status pages you can use to monitor the server (lines 6 and 13).
On lines 41-42, you should use your own SSL key and certificate.
Save the file with :wq
To enable the site we need to add a symlink:
sudo ln -s /etc/nginx/sites-available/cerb /etc/nginx/sites-enabled/cerbTest Nginx configuration
You can test the Nginx configuration file with:
sudo nginx -t
nginx: the configuration file /etc/nginx/nginx.conf syntax is ok
nginx: configuration file /etc/nginx/nginx.conf test is successful
Restart Nginx and PHP-FPM
sudo service nginx restart

sudo service php7.0-fpm restart
For more information about Nginx + PHP-FPM, see: https://www.nginx.com/resources/wiki/start/topics/examples/phpfcgi/
Run the Cerb installer
Type the hostname of your server into a browser and follow the guided installer.