Add an interactive bot to any website
Introduction
Traditionally, interactivity has been added to websites using forms. This requires front-end developers and designers to create pages, and back-end programmers to process form submissions and interact with other services (email, databases, APIs, etc).
With Cerb, you can build dynamic interactions entirely from your web browser, and quickly deploy them to existing websites to assist visitors with:
- Contact methods
- Mailing list subscribe / unsubscribe
- Product explainers
- Signup
- Ordering
- Scheduling and booking
- Attendants
- Troubleshooters
- Surveys
- Feature requests and bug reporting
- …and much more
This only requires a single line of code on your website.
You can embed interactions throughout your website, starting a specific conversation when a visitor clicks a link or button. There's also a floating chat button in the bottom right of every page where your bots can help visitors discover their options.
You can also share links in email, chats, text messages, or social media posts, that automatically start an interaction on any page of your website.
In this guide, we'll import a pre-built interaction and demonstrate how to add it to your website.
Installation
Enable the website interactions plugin
From Cerb » Setup » Configure » Plugins » Configure, ensure the Interactions for Websites plugin is enabled.
Import the example workflow
Navigate to Cerb » Search » Workflows » (+).
Click on (Empty).
Paste the following workflow template:
workflow:
  name: wgm.example.website.agent
  version: 2025-02-07T02:17:36Z
  description: An example interactive bot you can deploy on any website.
  website: https://cerb.ai/
  requirements:
    cerb_version: >=11.0.4 <11.2
    cerb_plugins: cerberusweb.core, cerb.website.interactions
  config:
    text/bot_name:
      label: Bot name:
      default: Website Agent
    text/website_url:
      label: Website URL:
      default: https://cerb.ai/
records:
  community_portal/portalBot:
    fields:
      name: {{config.bot_name}}
      extension_id: cerb.website.interactions
      updated_at@int: 1738894279
      uri: website_agent
      params:
        automations_kata@raw:
          automation/router:
            uri: cerb:automation:wgm.example.website.agent.router
            inputs:
              interaction: {{interaction}}
        cors_origins_allowed@text:
        portal_kata@text:
          layout:
            header:
              logo:
                text: {{config.bot_name}}
              navbar:
                link/name:
                  label: Website
                  href: {{config.website_url}}
                  class: cerb-link-button

            badge:
              interaction: router
  automation/scriptRouter:
    fields:
      name: wgm.example.website.agent.router
      extension_id: cerb.trigger.interaction.website
      description@text:
      script@raw:
        inputs:
          text/interaction:

        start:
          set:
            interactions:
              contact:
                key: contact
                label: Contact me
                uri: cerb:automation:wgm.example.website.agent.contact
              docs:
                key: docs
                label: Search the docs
                uri: cerb:automation:wgm.example.website.agent.docs

          while:
            if@bool: yes
            do:
              # If we're given an interaction on our first run, start it directly
              decision/hasInteraction:
                outcome/yes:
                  if@bool: {{inputs.interaction and interactions[inputs.interaction]}}
                  then:
                    set:
                      prompt_route: {{inputs.interaction}}
                    var.unset:
                      inputs:
                        key: inputs:interaction

                outcome/else:
                  then:
                    await/router:
                      form:
                        title: Cerb
                        elements:
                          say:
                            content@text:
                              #### How can I help?
                          submit/prompt_route:
                            buttons@kata:
                              {% for interaction in interactions %}
                              continue/{{interaction.key}}:
                                label: {{interaction.label}}
                              {% endfor %}
              await/run:
                interaction:
                  output: results
                  uri: {{interactions[prompt_route].uri}}
      policy_kata@text:
  automation/scriptContact:
    fields:
      name: wgm.example.website.agent.contact
      extension_id: cerb.trigger.interaction.website
      description@text:
      script@raw:
        start:
          await/contact:
            form:
              title: Contact me
              elements:
                text/prompt_email:
                  label: Email address:
                  type: email
                  required@bool: yes

                textarea/prompt_message:
                  label: Message:
                  required@bool: yes

                submit/prompt_submit:
                  buttons:
                    continue/send:
                      label: Send
                      value: send
                    reset/discard:
                      label: Discard

          email.parse/parse:
            output: results
            inputs:
              message@text:
                From: {{prompt_email}}
                Subject: Contact me

                {{prompt_message}}

          await/thanks:
            form:
              elements:
                say:
                  content@text:
                    Thanks! Your reference number is #{{results.mask}}.

                    We'll get back to you as soon as possible.
      policy_kata@raw:
        commands:
          email.parse:
            allow@bool: yes
  automation/scriptDocs:
    fields:
      name: wgm.example.website.agent.docs
      extension_id: cerb.trigger.interaction.website
      description@text:
      script@raw:
        start:
          while:
            if@bool: {{'back' != prompt_submit}}
            do:
              http.request/apiDocs:
                output: http_response
                inputs:
                  method: POST
                  url: https://api.cerb.cloud/docs/search
                  headers:
                    Content-Type: application/json
                  body:
                    query@key: prompt_query
                    limit@int: 10
                on_error:
                  error:
                on_success:
                  set:
                    response_json@json: {{http_response.body}}

              await/query:
                form:
                  title: Search Docs
                  elements:
                    text/prompt_query:
                      label: Search query:
                      required@bool: yes
                      placeholder: (e.g. What is Cerb?)

                    sheet/prompt_results:
                      hidden@bool: {{response_json.results is empty}}
                      data@key: response_json:results
                      limit@int: 10
                      schema:
                        layout:
                          style: fieldsets
                          title_column: title
                          headings@bool: no
                          paging@bool: yes
                          filtering@bool: no
                        columns:
                          link/title:
                            params:
                              text_key: title
                              href_template@raw: {{url}}
                              # [TODO] new tab
                          text/url:
                          text/summary:

                    submit/prompt_submit:
                      buttons:
                        continue/search:
                          label: Search
                        reset/back:
                          label: Back

      policy_kata@raw:
        commands:
          http.request:
            deny/url@bool: {{inputs.url is not prefixed ('https://api.cerb.cloud/docs/')}}
            allow@bool: yes
Click the Continue button twice.
Adding interactions to websites
Using the built-in portal
You can preview website interactions from the built-in portal.
On your portal's profile page, select the Deploy tab, then click the link in the Built-in URL section.
Displaying interactions on any website
We can also display interactions on any website.
On your portal's profile page, select the Configure tab, then copy the code in the Code Snippet section at the top.
For example, paste the following <script> tag in the footer of your website (ideally above the </body>).
<script id="cerb-interactions"
  data-cerb-badge-interaction="menu"
  type="text/javascript"
  src="https://cerb.example/portal/my-portal/assets/cerb.js"
  crossorigin="anonymous"
  defer
></script>- Replace
https://cerb.example/above with your own Cerb base URL. - Replace
my-portalwith your own portal path.
Triggering interactions from links and buttons
You can now add a data-cerb-interaction attribute to any element on your web page (e.g. link, image, button). Its value should be the name of the interaction to start. This will start the interaction when clicked.
You can include URL-encoded parameters in a data-cerb-interaction-params attribute on the same element. These are available to events KATA and can be passed to the automation.
For instance:
<button type="button" data-cerb-interaction="example" data-cerb-interaction-params="¶m1=value1¶m2=value2">Example Interaction</button>Triggering interactions from links
You can also append an anchor tag to any URL on your website and open an interaction automatically. This also works in the portal.
Append the following anchor to the URL of any page on your website:
#/nps&email=customer@cerb.example&s=qbISkLjvSecuring permalink URLs with signatures
When generating permalinks, keep in mind that you should never explicitly trust user input.
In the previous example, a user could change the email interaction parameter to a different email address and unsubscribe someone else.
When you need to tamper-proof interaction parameters, you should create a signature and append it (or part of it) as another parameter. It's important to use an HMAC signature with a secret key, rather than a simple MD5 or SHA-1 checksum. Otherwise a user could forge their own checksum.
For instance, if you were generating the unsubscribe URLs from a bot behavior in Cerb, we could do something like:
{% set email = "customer@example.com" %}
{% set hmac_secret = "a1b2c3d4e5f6abcd1234" %}
{% set signature = [email]|join|hash_hmac(hmac_secret,"sha256") %}
https://website.example/#/unsubscribe&email={{email}}&s={{signature}}
If you had multiple parameters to sign, you'd append them like [email,param2,param3]|join above.
This generates a URL like:
https://website.example/#/unsubscribe&email=customer@example.com&s=a0cf063304b33ea27f93e22c7dc559958cc126d1a68f0a8049eec5b4c4b8e640Note that a SHA-256 signature is 64 characters long, which can result in unwieldy URLs.
Based on the desired level of security, you can shorten the URL by only including a segment of the signature in the URL. An 8 character hex string already has 4,294,967,296 possible combinations. A 16 character hex string has about 18,446,744,070,000,000,000 combinations. Anything more is likely overkill.
It's a simple change to our URL generation script to use a signature segment instead:
{% set email = "customer@example.com" %}
{% set hmac_secret = "a1b2c3d4e5f6abcd1234" %}
{% set signature = [email]|join|hash_hmac(hmac_secret,"sha256") %}
https://website.example/#/unsubscribe&email={{email}}&s={{signature[24:16]}}
The signature[24:16] syntax returns the next 16 characters of signature starting at the 24th position. You could use any segment, as long as you're comparing it in the same way later.
This gives us a much shorter URL, like:
https://website.example/#/unsubscribe&email=customer@example.com&s=7dc559958cc126d1To verify a signature, your automation would need to read the value of the s (signature) parameter and compare it to the signature it generates itself using the secret key and the other given parameter values. Essentially, this is just repeating the process of generating the signature above, but testing the user's provided value for the email parameter. If using signature segments, make sure you use the same offset and length in your comparison.
We recommend storing the HMAC secret key in a workflow configuration variable. This makes it available to all automations from a single place, while still remaining hidden from end-users.
Triggering interactions from the floating Cerb menu
You can also automatically display a floating icon in the bottom right of your website that starts an interaction by using the data-cerb-badge-interaction attribute on the <script> tag above. The value should be the name of an interaction to start; like menu or help.
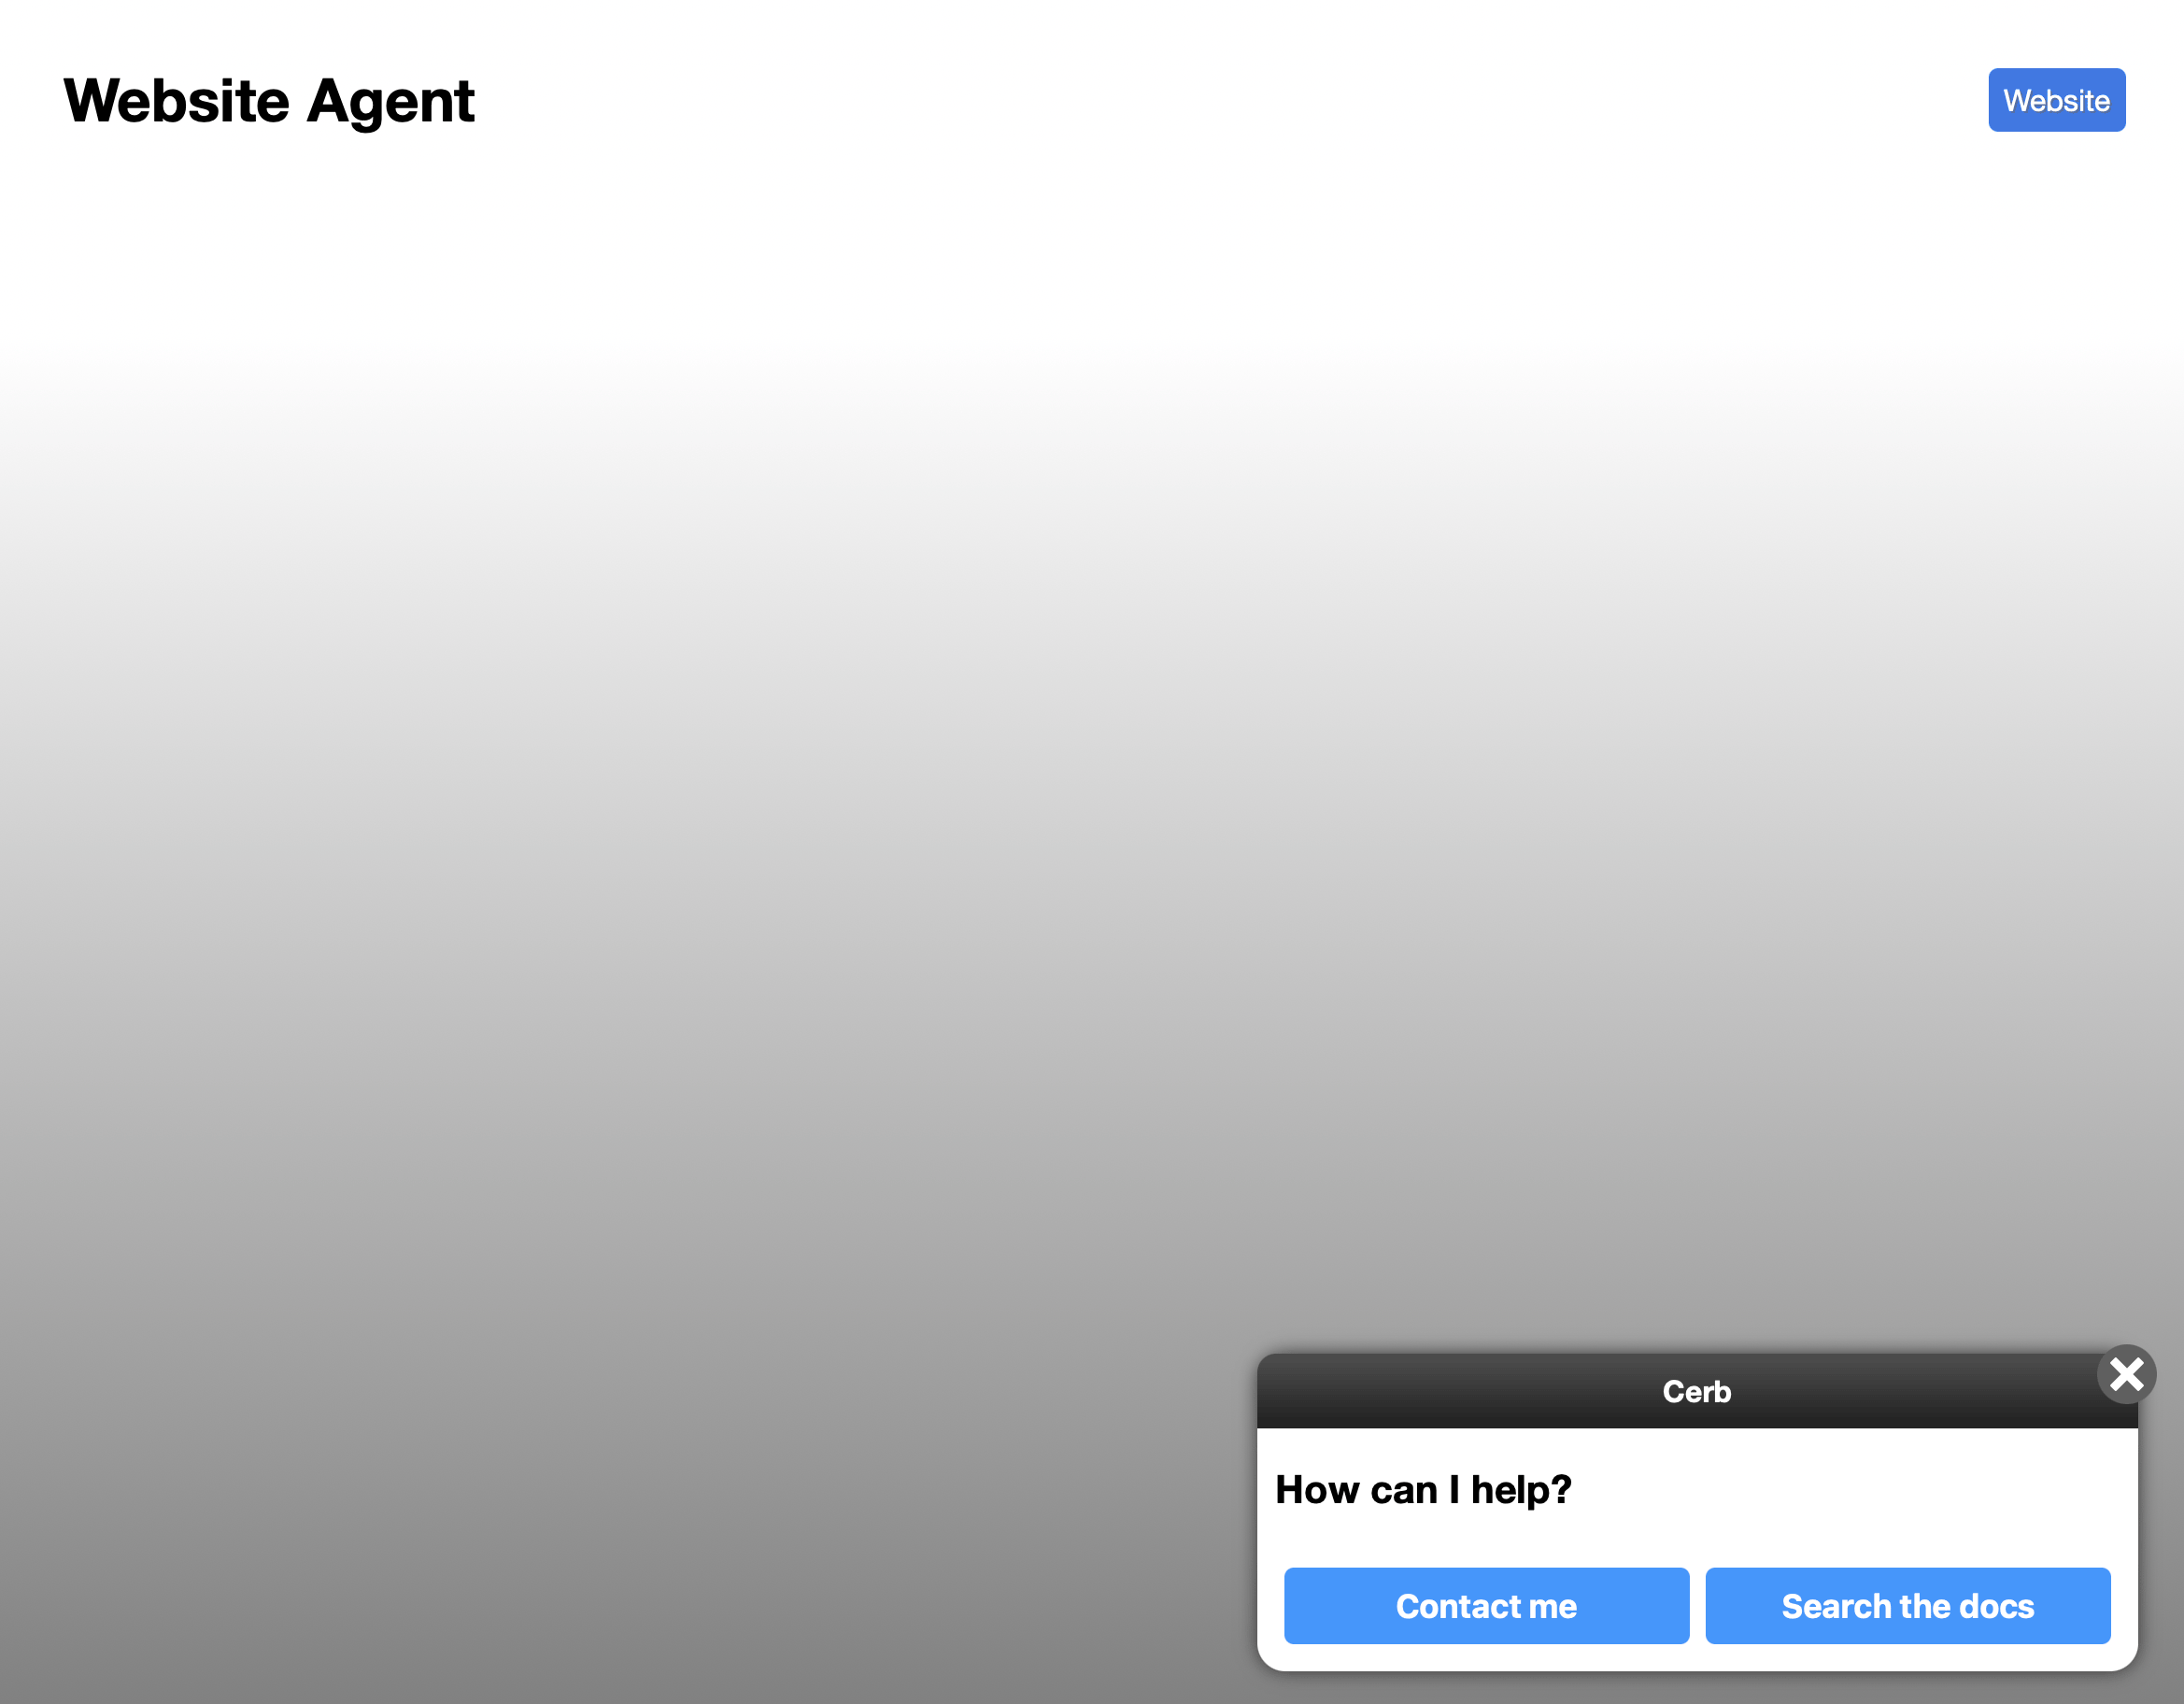
Click on the Cerb icon in the lower right:
An interaction popup window opens:

CORS
If your portal and website use different domain names, you'll need to enable cross-origin resource sharing (CORS):
-
In Cerb, navigate to Setup » Portals » Website Agent.
-
Select the Configure tab.
-
Add your website domain name to the Cross-Origin Request Sharing (CORS) section. Format it like:
https://portal.example(use your own domain name).
Custom styling
You can style the Cerb bot chat bubble and window on your website using CSS selectors.
For instance:
.cerb-interaction-badge .cerb-interaction-badge--icon { }
.cerb-interaction-popup { }
.cerb-interaction-popup .cerb-interaction-popup--title { }
.cerb-interaction-popup .cerb-interaction-popup--form-elements-button {}
You can change the icon in the chat bubble, change the bubble's size or position, change the colors in the chat window, etc.
We recommend using the developer tools in your browser to build and test new styles.