Configure webhooks
- Introduction
- Enable the webhooks plugin
- Import an automation to handle the webhook
- Create the webhook
- Test the webhook
- Next steps
- References
Introduction
With Cerb, you can create automations to automatically react to events taking place within the system – a new assignment, a new incoming message, a task being completed, any record changing, etc.
Webhooks1 provide a way to trigger automations when external events occur in other applications and services.
For instance:
- Freshbooks can trigger a webhook when you receive a new payment on an invoice.
- GitHub can trigger a webhook when an issue is updated on one of your projects.
- Twilio can trigger a webhook when a new call or text message is received.
- Zapier can trigger a webhook based on hundreds of different events.
A webhook is simply a special URL that accepts an HTTP POST2 with some data when an event occurs.
You can create webhook URLs in Cerb and associate them with specific automations.
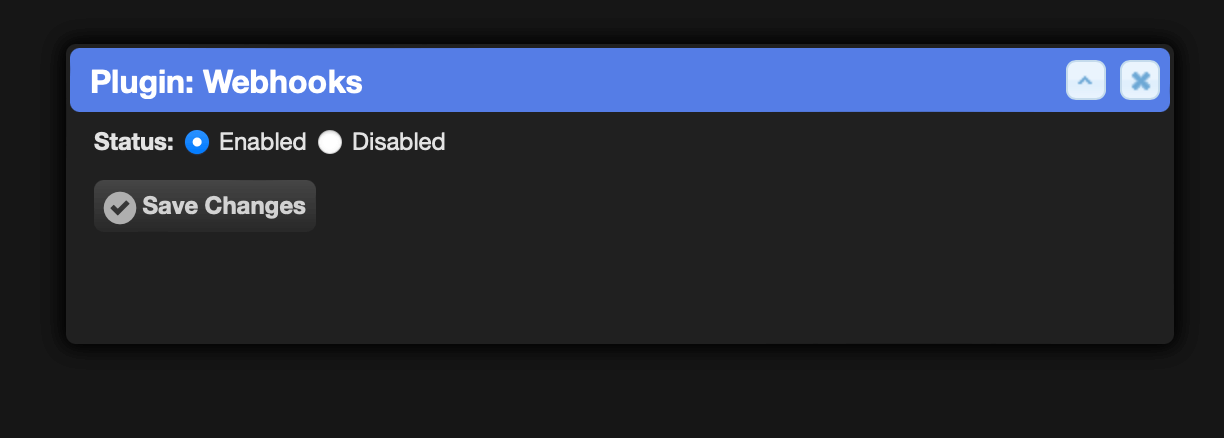
Enable the webhooks plugin
If you haven't already, you need to install the Webhooks plugin from Setup » Configure » Plugins.
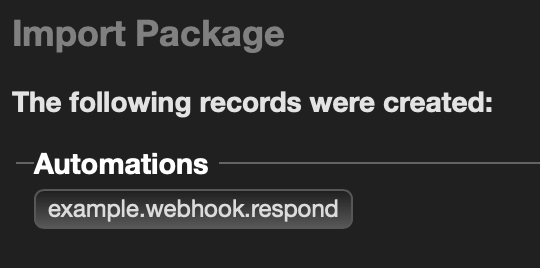
Import an automation to handle the webhook
Navigate to Setup » Packages » Import.
Paste the following into the textbox:
{
  "package": {
    "name": "Webhooks Example",
    "revision": 1,
    "requires": {
      "cerb_version": "10.4.0",
      "plugins": [
        "cerb.webhooks"
      ]
    },
    "configure": {
      "prompts": [],
      "placeholders": []
    }
  },
  "records": [
    {
      "uid": "automation_webhook",
      "_context": "automation",
      "name": "example.webhook.respond",
      "extension_id": "cerb.trigger.webhook.respond",
      "description": "An example of an HTTP webhook responder",
      "script": "start:\r\n  set:\r\n    response:\r\n      http:\r\n        method@key: request_method\r\n        path@key: request_path\r\n        headers@key: request_headers\r\n        params@key: request_params\r\n      client:\r\n        ip@key: request_client_ip\r\n  return:\r\n    status_code: 200\r\n    headers:\r\n      Content-Type: application/json\r\n    body@text: {{response|json_encode|json_pretty}}",
      "policy_kata": "commands:\r\n  "
    }
  ]
}
Click the Import button.
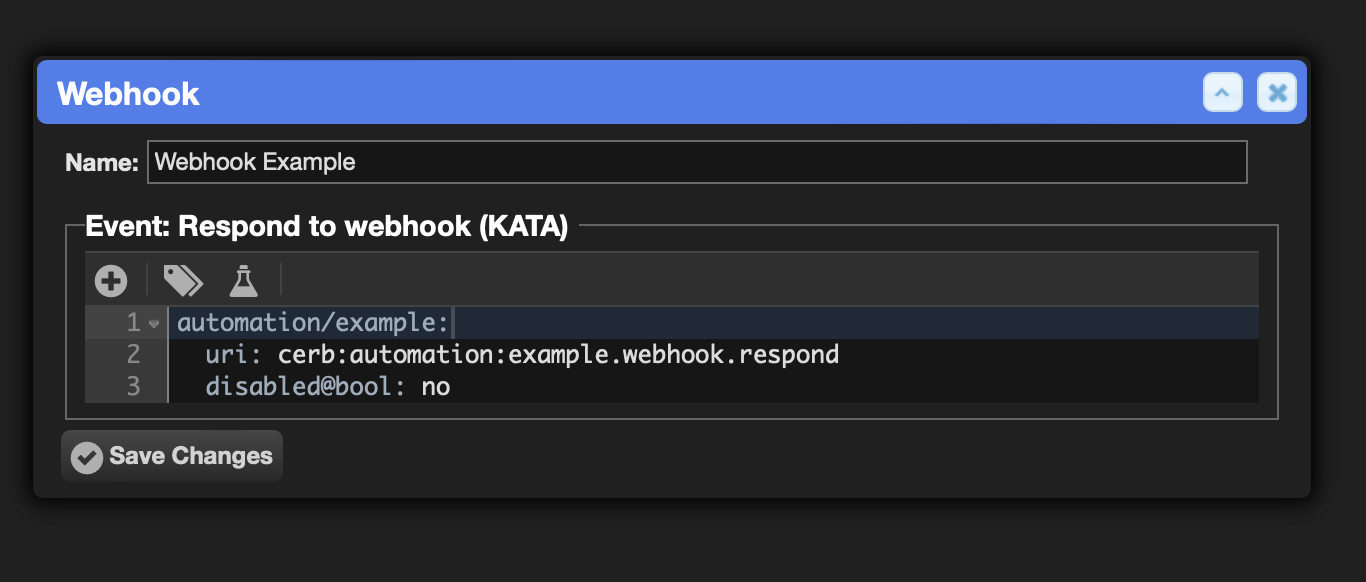
Create the webhook
Navigate to Search » Webhooks.
Click the (+) icon above the worklist.
Name the new webhook Webhook Example.
Paste the following Event KATA:
automation/example:
    uri: cerb:automation:example.webhook.respond
    disabled@bool: no
Click the Save Changes button.
Copy the webhook URL from the worklist.
Test the webhook
Testing in a web browser
Paste the URL into the location bar of your browser. You'll see a JSON response.
You can append query parameters to the URL. Try something like: ?name=Joe+Customer&age=37
You'll see those keys and values show up in the http.params section.
Testing with cURL
If you have access to the curl command at the console, you can send a POST request with a custom header and some query parameters:
curl -i -X POST -H "X-CustomHeader: true" \
"https://cerb.example/webhooks/b5d89ded60c1e4da7b7b2750182e026a5b975cf3?key=value"
You'll see these options reflected in the JSON response.
Next steps
At this point you can do nearly anything with your webhook.
You can add new actions based on your needs.
You can register the URL with an external app or service so that it automatically triggers based on an external event.
References
-
Wikipedia: Webhook - https://en.wikipedia.org/wiki/Webhook ↩
-
Wikipedia: HTTP POST - https://en.wikipedia.org/wiki/POST_(HTTP) ↩