Create a new Support Center community portal
- Introduction
- Install the Support Center plugin
- Create a new community portal
- Configure the Support Center
- Deploy the Support Center
Introduction
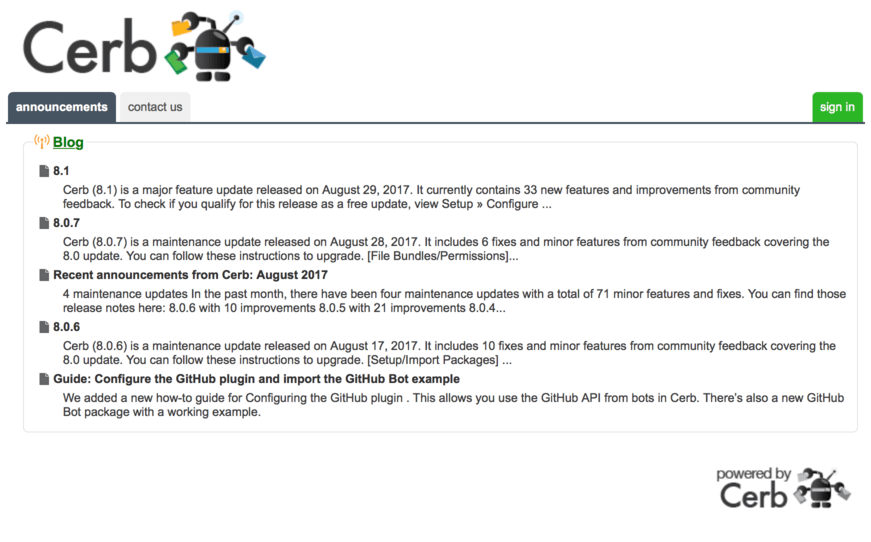
The most popular community portal is the Support Center. This provides a place for customers to read recent announcements, search your knowledgebase, fill out contact forms, edit their profile, and review their ticket history.
Install the Support Center plugin
First, make sure that the necessary plugin is enabled.
Navigate to Setup » Configure » Plugins » Installed.
Type support in the search box and verify that the Support Center plugin is installed. If not, enable it.
Create a new community portal
Now we're ready to create a new Support Center.
Navigate to Search » Portals.
Click the (+) icon above the worklist.
Enter the following values:
- Name:
Support Center - Type:
Support Center - Path:
support
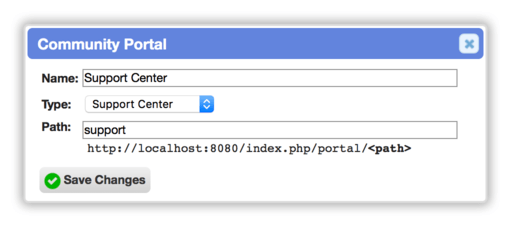
Click the Save Changes button.
Configure the Support Center
Click on Support Center in the community portal worklist to open its profile.
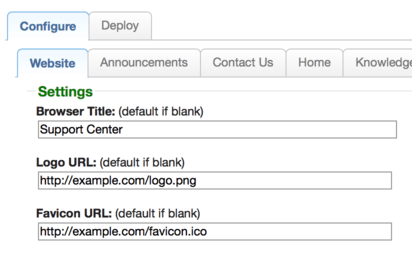
Select the Configure tab.
Branding
Modules
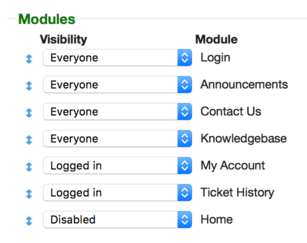
Click the Save Changes button.
Deploy the Support Center
Switch to the Deploy tab and follow the instructions.